
5K monitors · Mac setup
ASUS ProArt PA27JCV on a Mac: setup, scaling, charging and the catches
The ASUS PA27JCV has the same 27-inch 5K size and sharpness as Apple's Studio Display, which is why Mac owners keep looking at it. But a monitor that isn't made by Apple can trip you up in small ways: a menu setting that makes text tiny, brightness keys that do nothing, or a laptop that charges slower than you expect. Here's what to check before it lands on your desk.
By Adam Anderson, Editor and CEO, Gearsentials
This article contains paid Amazon links. Gearsentials may earn a commission from qualifying purchases. Affiliate standards.
The monitor in this guide
Paid links. Gearsentials may earn a commission from purchases.
Will your Mac run it at 5K?
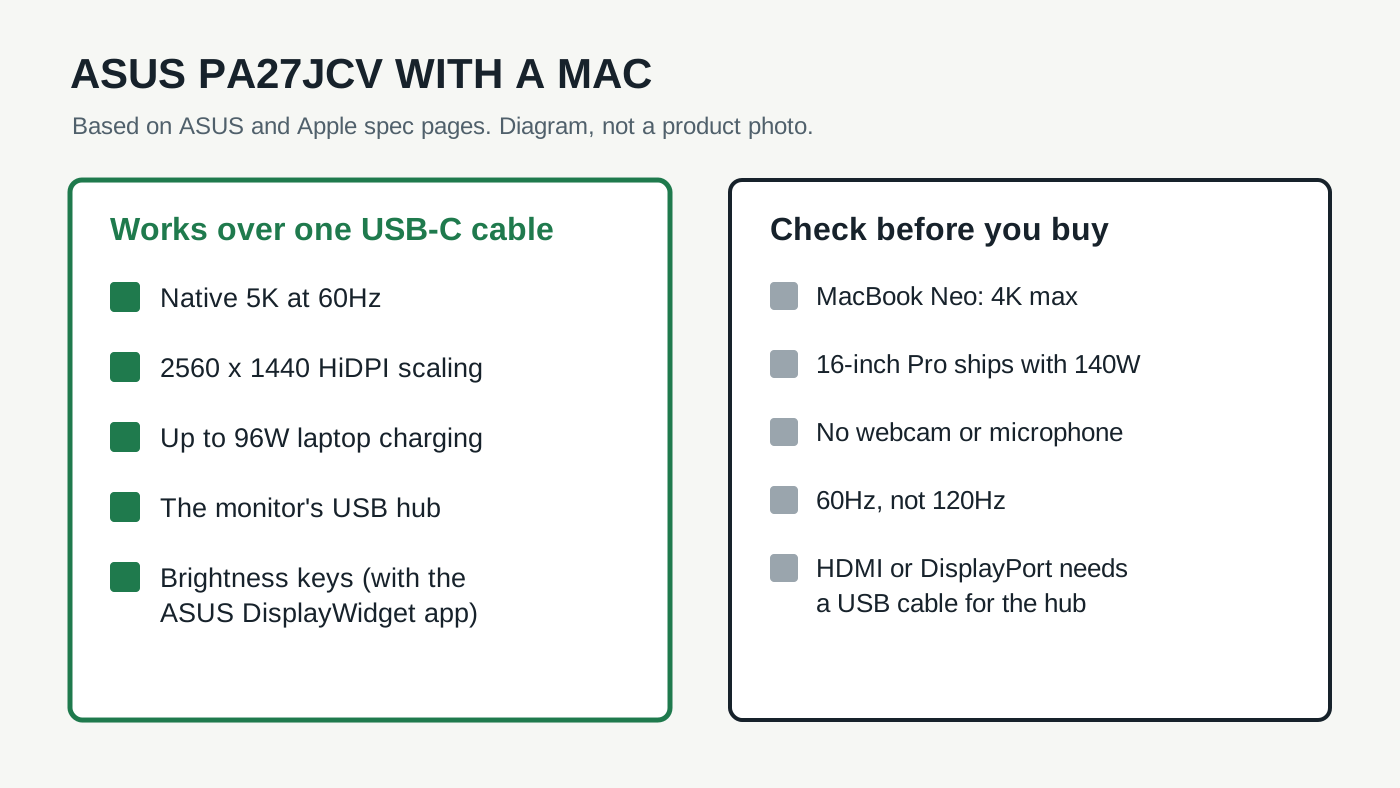
The PA27JCV is a 5120 × 2880 panel at 60Hz. It takes video over HDMI 2.1, DisplayPort 1.4, or a USB-C port with DisplayPort Alt Mode, according to ASUS's spec sheet. For most Macs, the USB-C port is the one you want, because it carries picture, power and the USB hub on one cable.
Current MacBook Air and MacBook Pro models clear the bar easily. Apple's MacBook Air specs list one display up to 5K at 120Hz, and the MacBook Pro specs list the same or more for every chip. A 5K screen at 60Hz is well inside both.
The MacBook Neo is the one to watch. Apple's Neo tech specs say it supports one external display up to 4K at 60Hz, and only through the USB 3 port near the hinge. Plug a 5K monitor into a Neo and you're paying for pixels the laptop can't send. If you have a Neo, a good 4K screen is the better match. For any other Mac, open its Tech Specs page and look for "5K" under external display support.
Getting sharp scaling
This is the main reason Mac owners pick 5K over 4K. At 27 inches, a 5K panel lets macOS draw everything at double sharpness while giving you the same workspace as a 2560 × 1440 screen. 9to5Mac put it simply: you don't have to worry about the scaling problems that make 27-inch 4K displays look "off" on a Mac.
It doesn't always set itself up that way, though. A reader on Parkablogs connected the monitor to an M4 Mac mini and got tiny, hard-to-read text. The reviewer's fix is worth saving:
- Open System Settings, then Displays, and select the ASUS monitor.
- Turn on "Show all resolutions." Apple's resolution guide notes it may sit behind an Advanced button.
- Pick 2560 × 1440 (HiDPI). If you only see an entry marked "low resolution," that's the wrong one.
- Still stuck? The reviewer suggests the BetterDisplay app as a fallback.
You can pick a larger "looks like" size for more room. Apple warns that scaled resolutions may affect performance, so keep the HiDPI 1440 setting unless you need the space.
Brightness keys need an ASUS app
On an Apple display, the brightness keys just work. On this one, ASUS says the MacBook brightness buttons control the monitor once you install its free DisplayWidget Center app for macOS. Two catches sit in the fine print: your mouse pointer has to be on the ASUS screen when you press the key, and the feature needs the latest monitor firmware.
The same Parkablogs reviewer confirmed it works from a Mac mini keyboard too, as long as you move the pointer to that screen first. DisplayWidget Center also handles contrast and color temperature, so you won't need to dig through the menu buttons under the bezel very often.
For color, ASUS added an "M Model P3" preset meant to match the look of MacBook screens. That's handy if you edit photos on the laptop and the monitor side by side.
ASUS ProArt PA27JCV
Paid links. Gearsentials may earn a commission from purchases.
ASUS ProArt Display PA27JCV, ASIN B0D6C6F2L8. Native 5K at 60Hz over one USB-C cable on Macs that support a 5K display.
Charging your MacBook: 96W covers most of them
The USB-C port supplies up to 96W, per ASUS. Compare that with the charger in the MacBook box. Apple ships the MacBook Air with a 35W or 70W adapter, and most 14-inch MacBook Pro models with 70W or 96W. So for those laptops, the monitor matches or beats the charger you already own.
The 16-inch MacBook Pro is different. Apple pairs it with a 140W adapter. The monitor gives it less power than that charger can, so expect slower charging, and the gap matters most during long, heavy work like video exports. Keep the Apple charger and MagSafe cable handy for those days.
Ports, hub and KVM: one setup quirk
Over USB-C, the monitor's USB hub turns on by itself. If you connect over HDMI or DisplayPort instead, ASUS says you'll need an extra USB-C-to-USB-A cable from the monitor to the computer to wake up the hub.
The port layout confuses people. Cult of Mac found that the two USB-C ports next to the HDMI jack connect the hub to a computer. They aren't for plugging in a keyboard or drive. Use the labeled USB-A ports and the ports under the front edge for accessories.
Those two upstream ports are also how the built-in KVM works. Plug a MacBook into the USB-C video port and a second computer into HDMI or DisplayPort plus a USB cable. Then one keyboard and mouse follow whichever computer is on screen. It's a nice extra if a work laptop and a personal Mac share the desk.
What you give up compared with Apple's display
- No camera or microphone. You'll use the MacBook's camera or a separate webcam.
- Weak speakers. ASUS lists two 2W speakers. 9to5Mac said even the Mac mini's own speaker sounds better. There's a headphone jack.
- 60Hz only. Scrolling won't feel like a ProMotion MacBook screen.
- A slower wake. Cult of Mac measured about five seconds for the picture to return after the Mac wakes.
- A fussy light sensor. Cult of Mac turned the auto-brightness sensor off after it made the screen too dark and yellow.
None of these break the monitor. They're the trade for paying much less than a Studio Display while keeping the same sharpness. The stand also adjusts for height, tilt, swivel and pivot, which 9to5Mac called a luxury next to the base Studio Display's tilt-only stand.
The final decision
The PA27JCV is a strong Mac monitor for anyone with a MacBook Air, MacBook Pro or Mac mini that supports 5K. Set the HiDPI 1440 mode, install DisplayWidget Center, and it behaves much like an Apple screen for daily work. The single USB-C cable for picture, power and hub is the part you'll enjoy every morning.
It also suits a desk shared by two computers, thanks to the KVM, and anyone who wants a stand that goes up and down without paying Apple's extra for one.
Pass on it if you own a MacBook Neo, which can't drive 5K, or if you want a camera, decent speakers and plug-and-play brightness in one box. And if you run a 16-inch MacBook Pro hard all day, plan on keeping its own charger plugged in.
For MacBook Air, MacBook Pro and Mac mini desks
Paid links. Gearsentials may earn a commission from purchases.
Best for Macs that support a 5K display, when you'll bring your own webcam and speakers.
Still weighing it against Apple's own screen? Our Studio Display vs ASUS PA27JCV guide compares coating, camera, audio, ports and price side by side.
Sources
- ASUS: ProArt Display PA27JCV product page
- ASUS: ProArt Display PA27JCV tech specs
- Apple Support: MacBook Neo tech specs
- Apple: MacBook Air tech specs
- Apple: MacBook Pro tech specs
- Apple Support: Change your display's resolution on Mac
- Cult of Mac: Asus ProArt 5K PA27JCV review
- 9to5Mac: ASUS ProArt Display 5K review
- Parkablogs: ASUS ProArt PA27JCV review